Whether you just bought a new car and want to remove a sticker, or have that old presidential campaign sticker from 20 years ago, you may want to remove it.
We’ve all tried to peel off a sticker and found the residue will just not come off. This is no different for a car.
This article will guide you through the process of removing a car window sticker without damaging your vehicle’s glass. We will provide you with the tools you need, the steps to follow, and tips and tricks to make the process as simple as possible.
Tools Required to Remove a Car Sticker
There are three basic tools you need to remove a car sticker:
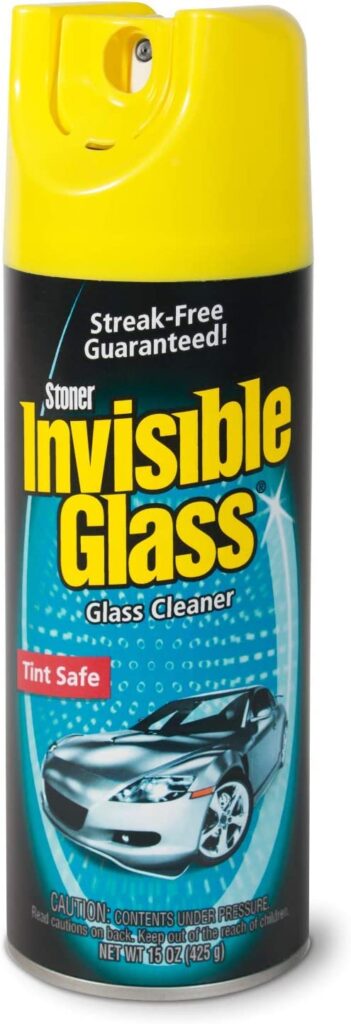
Ammonia Free Glass Cleaner
Glass cleaner is critical for cleaning a sticker off a car. The purpose of the cleaner is to:
- clean the surrounding area of the sticker prior to removal
- softening the adhesive
- cleaning the area after removal
It is critical to use an ammonia free cleaner because ammonia can dry out the rubber outer trim of the glass and cause damage.
Below is the recommended glass cleaner we use.
Invisible Glass Cleaner (Ammonia Free)
Amazon Affiliate Link
Recommended Window Cleaner for removing car stickers
Razor Blade
A sharp, individual razor blade will cleanly scrape off the sticker from the window. It is important to use brand new, rust-free blades to prevent scratches to your window.
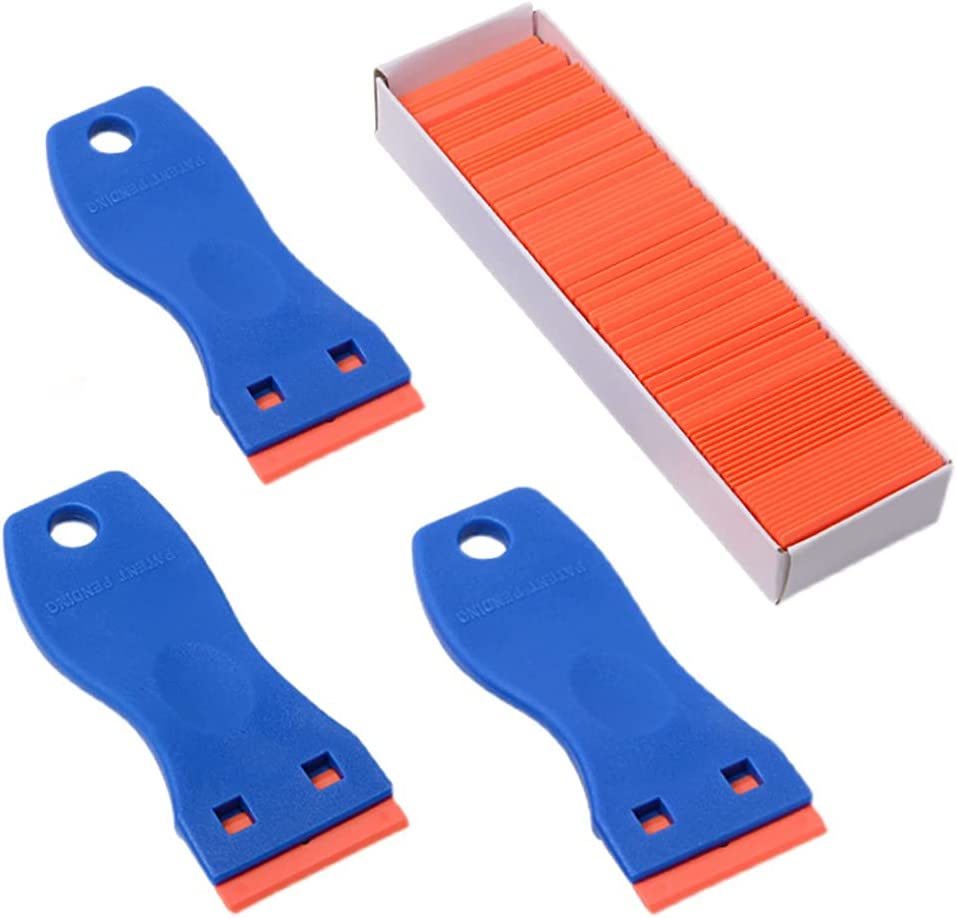
You can also use plastic window scrapers, which are less sharp, but have a lower chance of damaging your window.
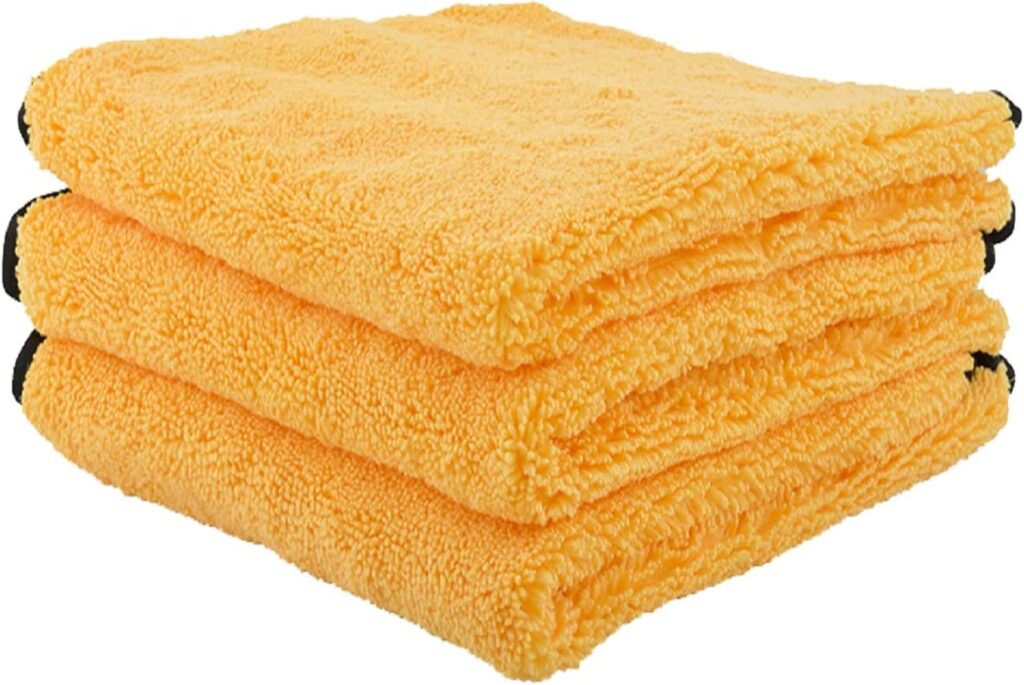
Microfiber Cloth
I microfiber cloth is a lint free cloth that will prevent any additional particulates to get on your windshield. They will be used to dry the area and clean the razor blade.
The cloths listed below are what I use. They are also great for hand washing your car!
Chemical Guys Microfiber Cloths
Amazon Affiliate Link
Recommended microfiber cloths to remove car window sticker
How to Remove a Car Window Sticker
The next section will step by step show you how to remove a window sticker from your car once you have the materials listed below.
Step 1: Clean the Area
The first thing you want to do is clean the area surrounding the sticker.
Spray the window cleaner on the mircofiber cloth and clean the area around the sticker to remove any dust, dirt and debris that may be on the window.
Inspect the surrounding area of the sticker to make sure it is fully clean. Any remnants of dirt could cause scratching on your window.
In addition, you want to inspect your razor blade to make sure it is sharp, clean, and damage free.
Step 2: Soften the Sticker
Next you will spray the sticker with the glass cleaner directly. Make sure the entire sticker is covered with the glass cleaner.
The purpose of this step is to allow the razor to glide across the window and soften the sticker for removal.
Step 3: Peel the Sticker
To peel the sticker, you will then scrape the sticker off by gliding the razor blade under the sticker. This will involve some quick and slow movements to extract the sticker from the surface.
Make sure you are in control of the razor blade with these movements.
As you peel the sticker away, you can use your other hand to peel back the sticker.
Step 4: Remove the Adhesive Residue
Once you’ve removed the bulk of the sticker, you will likely find that there is residue still left on the glass, this is normal.
You will then spray the area with the glass cleaner again and continue to scrape off the residue. This step will likely require faster movements to remove it.
Repeat this step as necessary to clean the entire glass.
Step 5: Clean the Glass
After the sticker has fully been removed, wipe down the surface with window cleaner and inspect that all adhesive residue has been removed.
Tips and Tricks
Be Mindful of the Sticker Location
The sticker location is definitely important to consider when you are removing it. The biggest concern you will need to keep in mind is whether or not the sticker is located near the edge of the window.
Around every window on a car is some type of rubber seal. When you are using the razor, it is very important that you be very careful around this edging. If you get too close to the edge, you could damage the seal.
Complete Sticker Removal in One “Sitting”
Keep in mind that you should always finish the project of removing the entire sticker at once. You want to make sure that all residue is removed so that it does not accumulate extra dirt which will be more challenging to remove and might lead to scratches on the window.
Other Liquid Options
Though window cleaner is the ideal and recommended fluid for removing stickers, you could also use the following substances to assist in the process:
- soapy water
- rubbing alcohol
- goo-gone
Make Sure the Area is Dry at the Start
When you remove the sticker, you want to make sure your car is dry and in a dry environment. Though we will be wetting the sticker, it will be more challenging if it is currently raining or was recently wet.
If your car is wet, just be sure to give it a nice rub with the microfiber cloth to dry the area before cleaning it.
Conclusion
To remove a sticker on a car window, you will need:
And you will need to follow these steps:
- clean the area with a window cleaner
- soak the sticker with the cleaner
- scrape the sticker with a razor
- then clean the area once more
